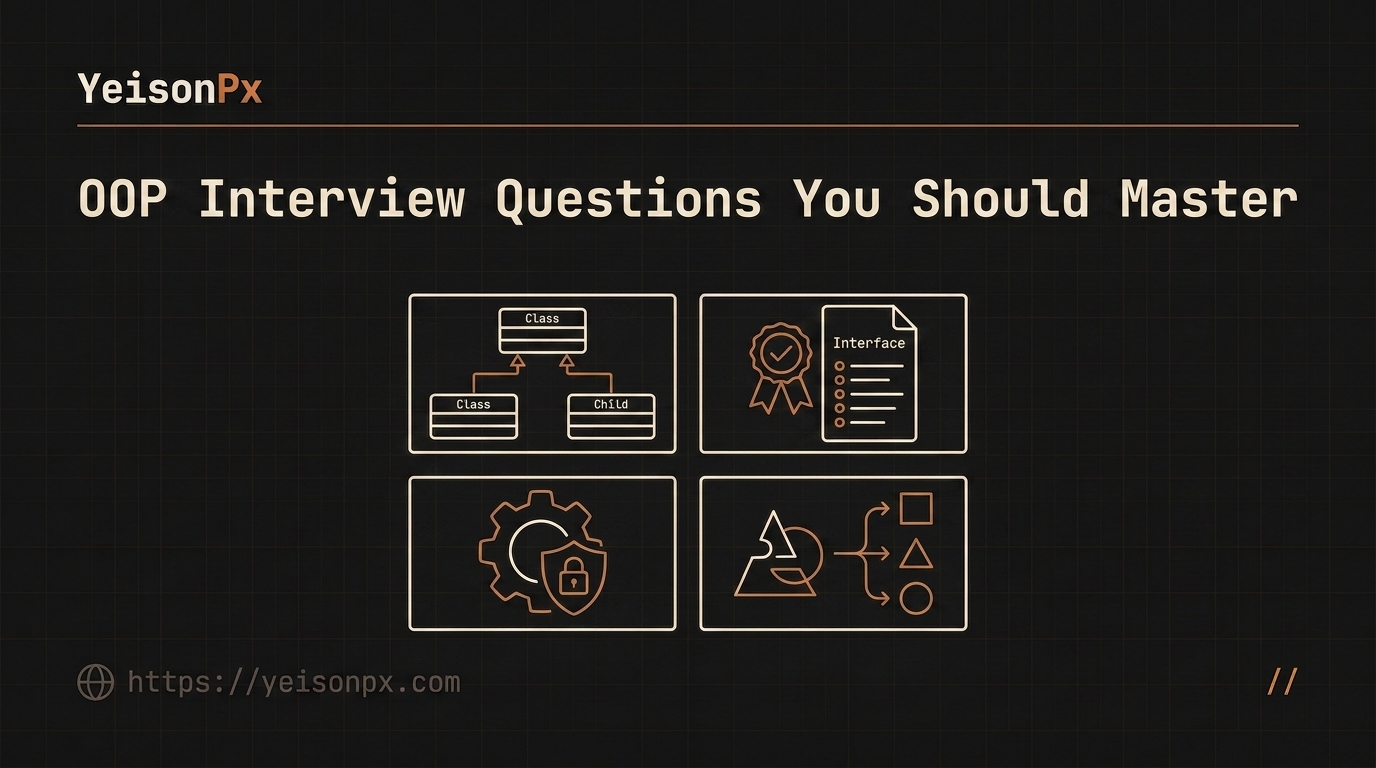
How to Pass Data Between Two Child Components in Angular
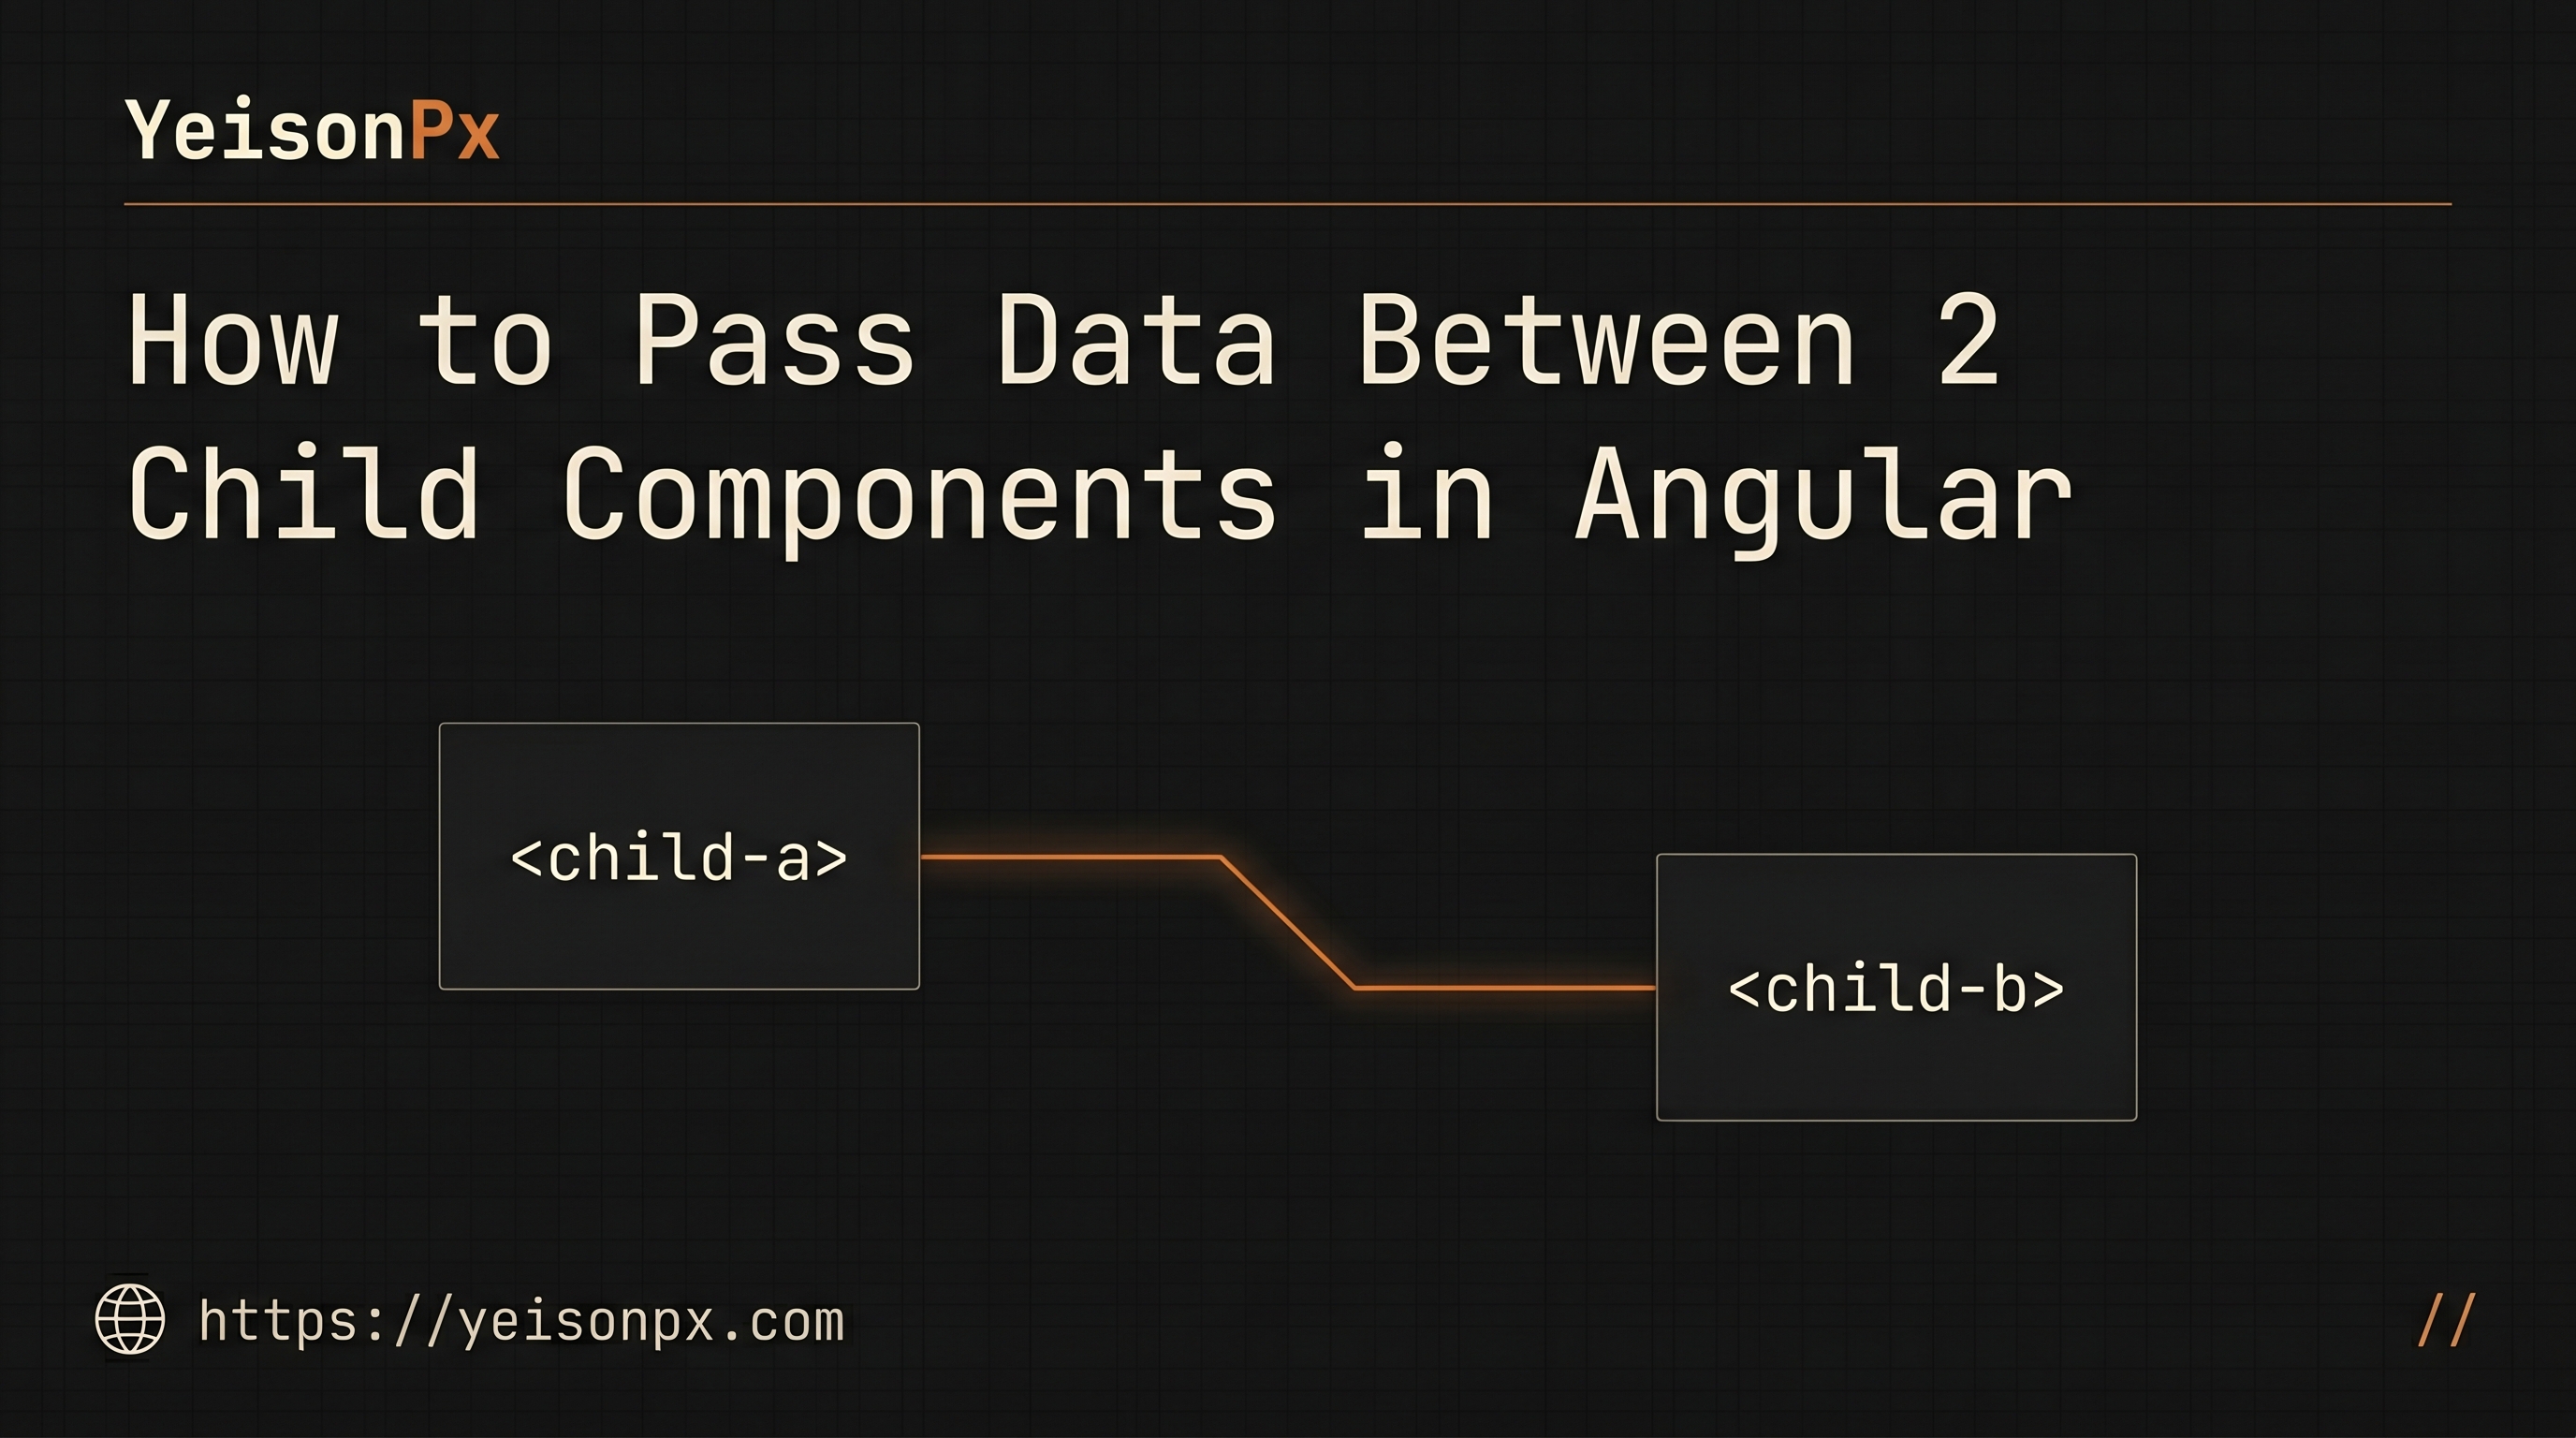
In Angular, communication between components is essential when developing complex applications. In this article, you'll learn how to pass data between two child components using different techniques, from the most common to a more advanced method using an Event Bus service.
We'll cover the following options:
- Using @Input() and @Output() to pass data directly between child and parent components.
- Using a shared service for more flexible and global communication.
- Using an Event Bus to handle events in a decoupled, centralized way.
Each of these solutions has its own use case and purpose, so it's important to understand when and how to use each one.
1. Using @Input() and @Output()
The most straightforward way to pass data between components in Angular is by using the @Input() and @Output() properties. In this approach, one of the child components receives data from the parent using @Input(), while the other child component emits events to the parent using @Output(). The parent acts as the mediator.
Step 1: Create the Child Components
First, we need two child components: ChildA and ChildB.
ng generate component child-a
ng generate component child-b
Step 2: Passing Data with @Input
In ChildA, we use @Input() to receive data.
// child-a.component.ts
import { Component, Input } from '@angular/core';

@Component({
  selector: 'app-child-a',
  template: `<h3>Child A</h3>
             <p>Data received: {{ data }}</p>`
})
export class ChildAComponent {
  @Input() data: string = '';
}
Step 3: Emitting Events with @Output
In ChildB, we use @Output() to emit events with data back to the parent.
// child-b.component.ts
import { Component, Output, EventEmitter } from '@angular/core';

@Component({
  selector: 'app-child-b',
  template: `<h3>Child B</h3>
             <button (click)="sendData()">Send Data to Parent</button>`
})
export class ChildBComponent {
  @Output() dataEvent = new EventEmitter<string>();

  sendData() {
    this.dataEvent.emit('Hello from Child B');
  }
}
Step 4: Communication Through the Parent Component
The parent component will receive data from ChildB and pass it to ChildA.
// parent.component.ts
import { Component } from '@angular/core';

@Component({
  selector: 'app-parent',
  template: `
    <app-child-a [data]="childBData"></app-child-a>
    <app-child-b (dataEvent)="receiveData($event)"></app-child-b>
  `
})
export class ParentComponent {
  childBData: string = '';

  receiveData(data: string) {
    this.childBData = data;
  }
}
Now, when the button in ChildB is clicked, ChildA will receive the data through the parent component.
Advantages and Disadvantages of @Input and @Output
- Advantages: Simple to implement and use for components with a clear parent-child relationship.
- Disadvantages: Not suitable when passing data between components that do not have a direct parent-child relationship.
2. Using a Shared Service with BehaviorSubject
A more flexible alternative to @Input and @Output is using a shared service. This approach allows communication between components that do not have a direct parent-child relationship.
Step 1: Create a Service
We'll create a service using a BehaviorSubject to store the state and enable communication between components.
ng generate service data// data.service.ts
import { Injectable } from '@angular/core';
import { BehaviorSubject } from 'rxjs';
@Injectable({
providedIn: 'root',
})
export class DataService {
private dataSource = new BehaviorSubject<string>('Default Data');
currentData = this.dataSource.asObservable();
changeData(data: string) {
this.dataSource.next(data);
}
}Step 2: Update ChildA to Receive Data from the Service
// child-a.component.ts
import { Component, OnInit } from '@angular/core';
import { DataService } from '../data.service';

@Component({
  selector: 'app-child-a',
  template: `<h3>Child A</h3>
             <p>Data from service: {{ data }}</p>`
})
export class ChildAComponent implements OnInit {
  data: string = '';

  constructor(private dataService: DataService) {}

  ngOnInit() {
    this.dataService.currentData.subscribe(data => this.data = data);
  }
}
Step 3: Update ChildB to Send Data to the Service
// child-b.component.ts
import { Component } from '@angular/core';
import { DataService } from '../data.service';

@Component({
  selector: 'app-child-b',
  template: `<h3>Child B</h3>
             <button (click)="sendData()">Send Data via Service</button>`
})
export class ChildBComponent {
  constructor(private dataService: DataService) {}

  sendData() {
    this.dataService.changeData('Hello from Child B');
  }
}
Advantages and Disadvantages of Using a Shared Service
- Advantages: Enables direct communication between components regardless of their hierarchical relationship.
- Disadvantages: Can be overkill for simple communication between tightly coupled components.
3. Using an Event Bus (Advanced)
A more advanced pattern for handling communication between components is using an Event Bus. This pattern is useful when you need more decoupled communication between multiple components.
Step 1: Create an Event Bus Service
The Event Bus is essentially a service that manages events using observables.
// event-bus.service.ts
import { Injectable } from '@angular/core';
import { Subject } from 'rxjs';

@Injectable({
  providedIn: 'root',
})
export class EventBusService {
  private eventBus = new Subject<{ name: string, data: any }>();

  on(event: string) {
    return this.eventBus.asObservable();
  }

  emit(event: string, data: any) {
    this.eventBus.next({ name: event, data });
  }
}
Step 2: Update ChildA to Listen for Events on the Event Bus
// child-a.component.ts
import { Component, OnInit } from '@angular/core';
import { EventBusService } from '../event-bus.service';

@Component({
  selector: 'app-child-a',
  template: `<h3>Child A</h3>
             <p>Event Data: {{ data }}</p>`
})
export class ChildAComponent implements OnInit {
  data: string = '';

  constructor(private eventBus: EventBusService) {}

  ngOnInit() {
    this.eventBus.on('dataEvent').subscribe(event => this.data = event.data);
  }
}
Step 3: Update ChildB to Emit Events to the Event Bus
// child-b.component.ts
import { Component } from '@angular/core';
import { EventBusService } from '../event-bus.service';

@Component({
  selector: 'app-child-b',
  template: `<h3>Child B</h3>
             <button (click)="sendEvent()">Send Event</button>`
})
export class ChildBComponent {
  constructor(private eventBus: EventBusService) {}

  sendEvent() {
    this.eventBus.emit('dataEvent', 'Hello from Child B');
  }
}
Advantages and Disadvantages of Using an Event Bus
- Advantages: Completely decouples components, making it ideal for larger applications with multiple interactions.
- Disadvantages: May introduce unnecessary complexity for smaller applications.
Conclusion
In this article, we explored different ways to pass data between two child components in Angular. Using @Input() and @Output() is a simple solution when components have a direct parent-child relationship, while shared services and the Event Bus pattern offer more advanced and flexible options for larger and more complex applications.
Choose the solution that best fits your use case and application needs. Happy coding!